
Clean Bikes Ride Better, Period
Imagine spending thousands on a high-end bicycle only to let it rot under layers of mud and grease. Sounds painful, right? But here’s the truth: most bike owners don’t clean their bikes properly—not because they don’t care, but because they don’t know how. And the root of that knowledge starts with understanding how to choose the best bicycle cleaning kit.
This article isn’t some generic shopping guide. It’s a deep, practical manual for bikers who want their rides to look new, feel smooth, and last longer. Whether you own a carbon road bike or a dusty trail warrior, what follows is your blueprint for proper bike hygiene.
The Science of Dirt: Why Bikes Need More Than Water
Bicycle dirt isn’t just about mud—it’s a complex mix of:
- Silica-rich dust from roads
- Grease and oil residues from the drivetrain
- Metal particles from brake pads and chains
- Acidic pollutants from the environment
Left untouched, this filth creates abrasive sludge that eats through your components. A casual water rinse only moves this grit around. That’s why a specialized cleaning kit is not optional—it’s essential.
What Makes a Cleaning Kit ‘The Best’?
Let’s break down what separates an elite cleaning kit from a mediocre one. When learning how to choose the best bicycle cleaning kit, consider these seven non-negotiable features:
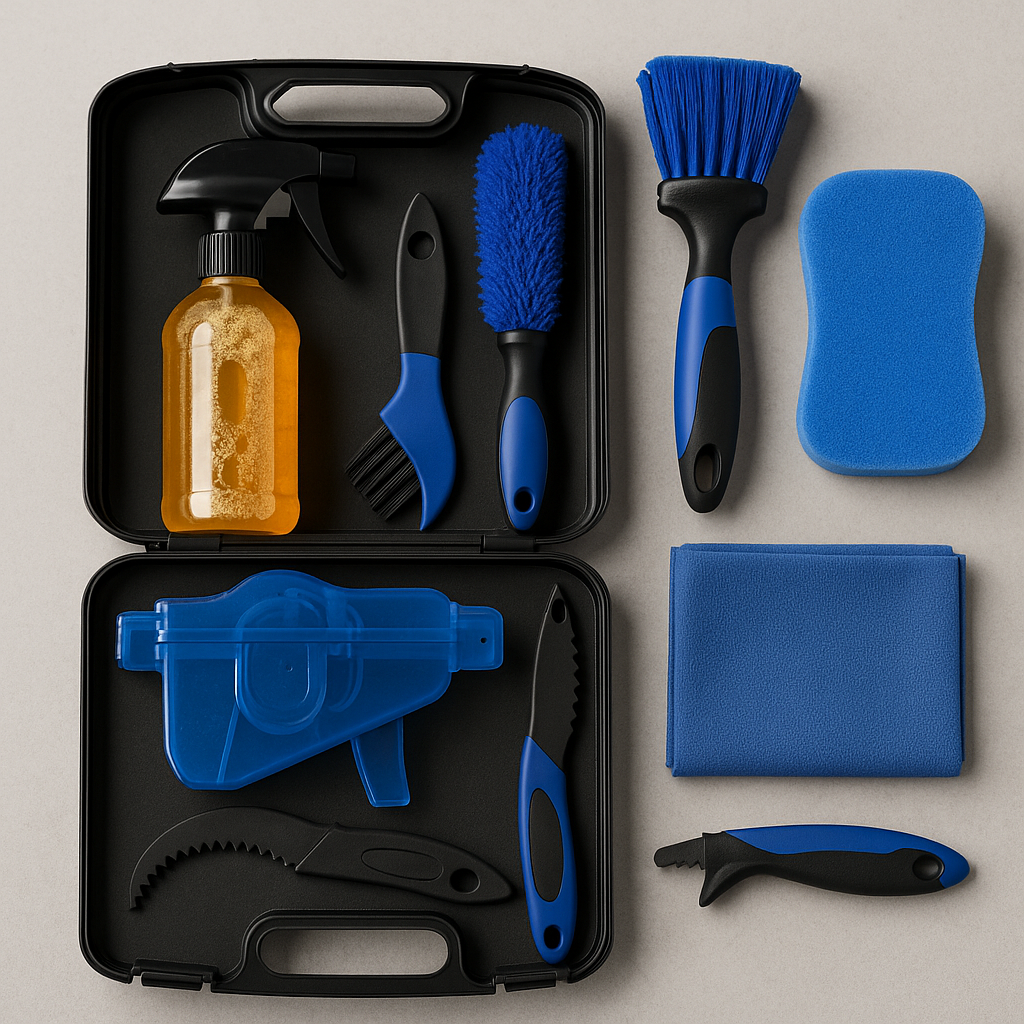
1. Multi-Texture Brushes
Your bike has multiple surfaces—spokes, chains, frame, cassette. One brush won’t do. You need:
- Soft bristles for frame and forks
- Stiff bristles for drivetrain
- Cone-shaped brushes for hard-to-reach zones
2. Chain Cleaner Tool
Not just a brush—an actual enclosed scrubber. It allows deep cleaning without removing the chain.
3. pH-Neutral Bike Soap
Avoid dish soap. It dries out paint and corrodes components. Bike-specific soap maintains finish and lubrication.
4. Degreaser That’s Safe
Look for non-toxic, biodegradable degreasers. Harsh chemicals can ruin bearing seals and paint over time.
5. Drying Tools
High-quality microfiber cloths that don’t scratch. Bonus if they’re color-coded for frame vs drivetrain.
6. Lubrication Add-Ons
Some premium kits include a post-wash lubricant or polish. This saves you an extra purchase—and step.
7. Storage Case or Bag
Organization equals motivation. A kit that stores cleanly keeps you consistent with maintenance.
Breakdown of Professional-Grade Kits (Real Examples)
Here’s how three top-tier kits compare:
| Brand | Price | Includes Chain Tool? | Eco-Friendly? | Recommended For |
|---|---|---|---|---|
| Muc-Off Ultimate Kit | $90 | Yes | Yes | Daily riders, pros |
| Park Tool BKD-1 | $75 | No | No | Mechanics, trail bikes |
| Finish Line Pro Set | $55 | Yes | Yes | Budget-conscious riders |
If you want a shortcut for how to choose the best bicycle cleaning kit, this table gives you a jumpstart.
The Art of Kit Selection Based on Ride Type
Every type of cyclist has a different set of needs. Here’s how your biking style should guide your purchase:
Road Cyclists
- Dirt Type: Dust, sweat salt, fine grit
- Best Kit: Soft-bristle brushes, waterless sprays, microfiber finishers
- Tip: Avoid pressure sprays—they force grit into bearings.
Mountain Bikers
- Dirt Type: Mud, clay, plant sap
- Best Kit: Firm brushes, heavy-duty degreasers, drivetrain soak tools
- Tip: Wash your bike within an hour of a trail ride.
Commuters
- Dirt Type: Pollution film, oily water, rain splash
- Best Kit: Mid-range multi-tools with spray degreaser
- Tip: Keep a portable mini-kit at work or in your backpack.
E-Bike Owners
- Dirt Type: Same as regular bikes, plus battery zone cleaning
- Best Kit: Electronic-safe cleaners, no-hose solutions, delicate brushes
- Tip: Never spray water near ports or motors.
How Often Should You Use the Kit?
Knowing how to choose the best bicycle cleaning kit also includes knowing how often to use it. Here’s a smart schedule:
| Riding Condition | Cleaning Frequency |
|---|---|
| Wet weather | After every ride |
| Off-road trails | Every 1–2 rides |
| Dry city commute | Every 5–7 rides |
| Competitive use | Pre and post-race |
Neglecting cleaning means you’ll pay more in repairs. A good kit saves you hundreds over time.
The Hidden Risks of Cheap Cleaning Kits
Don’t fall for low-cost kits that promise everything. Here’s what often goes wrong:
- Brushes shed fibers that get lodged in gears
- Degreasers strip lubricants too aggressively
- No chain cleaner tool included
- No case or pouch, leading to disorganized tools
Low-quality kits can actually harm your bike more than help it.
Maintenance Routine That Actually Works
Use this 7-step cleaning ritual weekly or every 100 kilometers:
- Pre-rinse with low-pressure water
- Spray degreaser on the chain, cassette, and derailleur
- Scrub drivetrain with your dedicated tool
- Lather the frame with bike soap
- Detail with narrow brushes for hard-to-reach spots
- Rinse and dry with microfiber towels
- Lubricate your clean, dry chain
This sequence ensures your bike runs like it’s just out of the box.
True Cost Breakdown Over One Year
Still debating how to choose the best bicycle cleaning kit? Let’s do the math:
| Expense | Without Kit | With Kit |
|---|---|---|
| Chain replacement (2x) | $80 | $0 |
| Cassette wear | $120 | $0 |
| Shop cleaning (monthly) | $300 | $0 |
| Total Yearly Cost | $500+ | $50–90 |
Red Flags: When It’s Time to Replace the Kit
Even top-quality kits wear out. Replace your kit if:
- Brushes lose shape or shed
- Microfiber cloths feel greasy
- Chain cleaner stops rotating properly
- Degreaser changes consistency or smell
- You buy a new bike with different cleaning needs
Final Thoughts: Clean is Fast, Clean is Safe
The core message of how to choose the best bicycle cleaning kit is simple:
You don’t need to be a bike mechanic—but you absolutely need the right tools.
A good kit is an investment in performance, safety, and pride of ownership. Regular cleaning saves you money and makes riding more enjoyable. Choose a kit that suits your bike, your lifestyle, and your environment—and you’ll never dread cleaning day again.


