
Your Bike is Speaking—Are You Listening?
If your mountain bike had a voice, what would it say after a muddy ride through rocky switchbacks and pine-thick singletrack?
“Clean me, or watch me break.”
This isn’t just about keeping your bike shiny — it’s about mechanical survival. Most riders clean reactively—when their drivetrain starts squeaking or their suspension feels gummy. But seasoned bikers? They know that learning how to effectively clean your mountain bike isn’t optional. It’s a ritual — one that protects every component and elevates your ride.
So, let’s move past the basics. Let’s dissect what most people miss, what mechanics won’t always reveal, and what your bike silently begs for.
1. The Anatomy of Dirt: The Silent Destroyer
Every trail tells a story — and leaves it behind on your bike.
▸ Silica & Quartz Dust
Terrain Source: Dry desert trails and gravel paths
Damage: These microscopic abrasives infiltrate your chain links and headset bearings. Once inside, they grind your drivetrain like sandpaper, shortening chain life and wearing down pivots.
▸ Pine Resin & Organic Matter
Terrain Source: Forested mountain trails, especially after rain
Damage: Resin sticks to the fork and rear suspension. It hardens over time, creating gunk that degrades rubber seals and makes stanchions sticky. If you’ve ever wondered why your fork feels sluggish after a forest ride, this is it.
▸ Brake Dust
Terrain Source: Everywhere, but most noticeable on steep descents
Damage: It clings to rotors, causing squeaky or weak braking. Also corrodes calipers and paint when mixed with water.
▸ Road Salt or Alkaline Mud
Terrain Source: Winter rides or clay-heavy terrain
Damage: Highly corrosive. Can eat through derailleur bolts and bottom bracket seals in weeks.
Learning how to effectively clean your mountain bike begins by respecting the dirt. It’s not just surface grime — it’s microscopic sabotage.
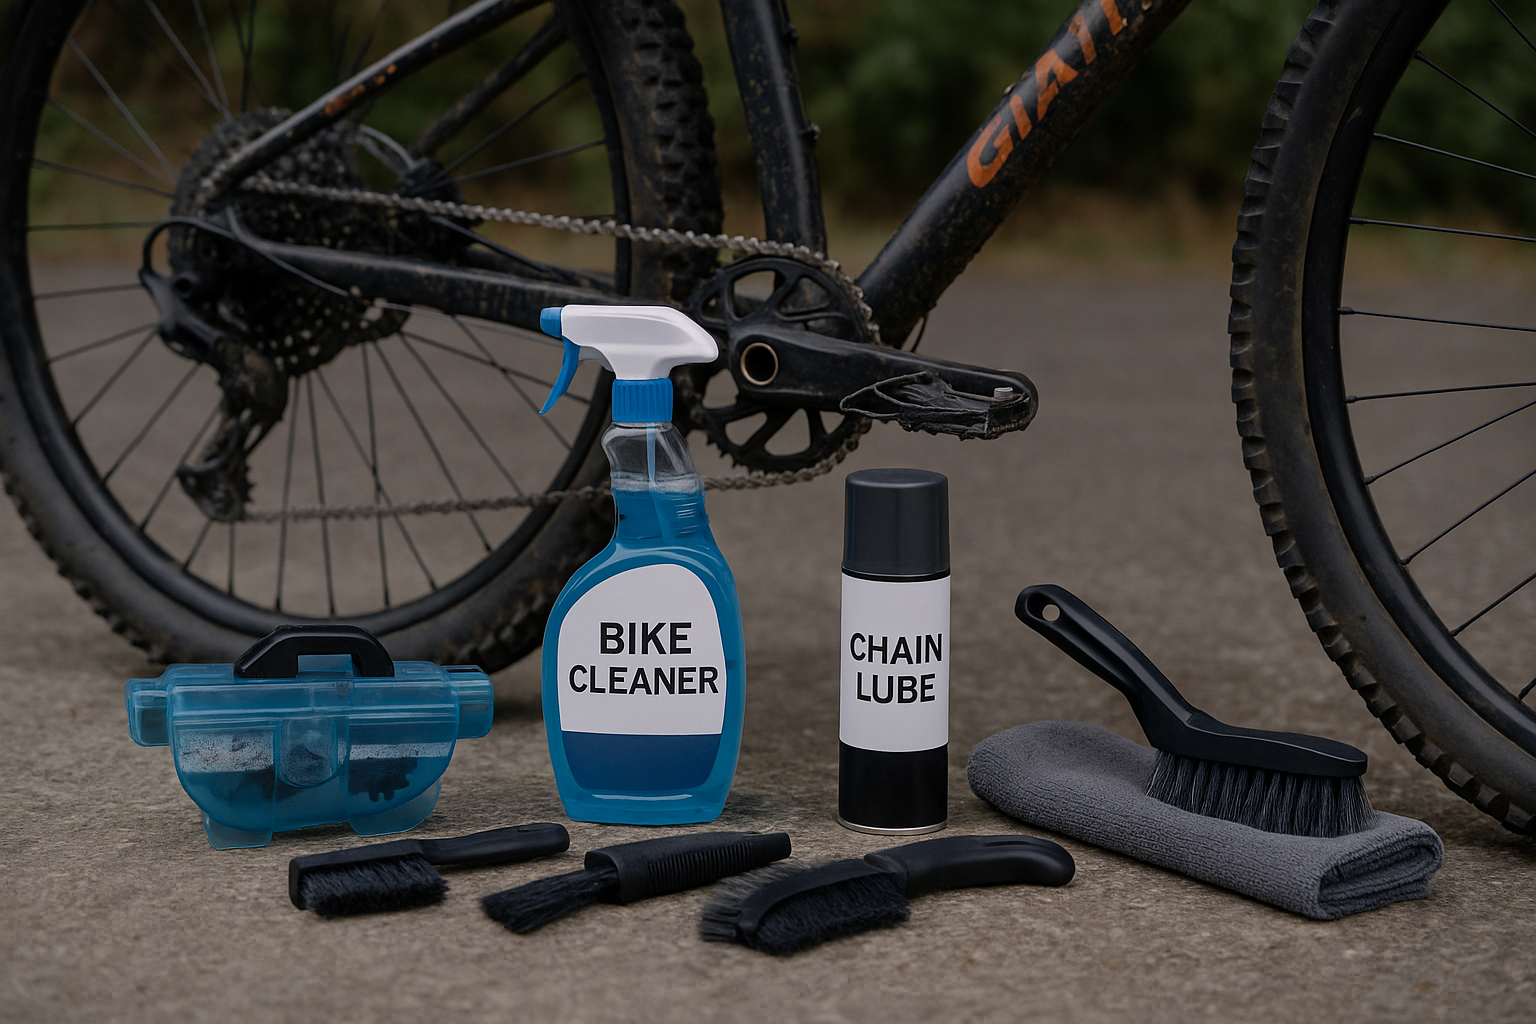
2. Tools that Work (and How to Use Them Like a Pro)
Let’s cut through the clutter. Here are the tools worth your money — plus real-world tips for maximizing their use:
| Tool | Use It Like This |
|---|---|
| Chain Bath Tool | Hold it level, backpedal slowly. Use degreaser, not soap. Empty after 30 rotations for best effect. |
| Detail Brushes | Hold at a 45° angle. Use a flicking motion—not force—to dislodge grit from tight spots. |
| Stiff Tire Brush | Clean lugs with circular scrubbing, not just linear swipes. Focus near bead line. |
| Microfiber Cloths | Use two: one dry, one damp. Pat dry first, then wipe. Flip frequently. |
| Silicone Spray | Spray on a cloth, not directly on the frame. Apply in streaks, then buff. Avoid rotors at all costs. |
Pro-Tip: Label your brushes. Use electrical tape to mark one for drivetrain, one for frame, and one for tires. Never cross-contaminate.
3. The Visual Learning Hack
Since we can’t embed images, here’s a trick:
Search YouTube for “World Cup XC Mechanic Bike Wash”
These are the tech crews behind elite riders. Notice how they:
- Prioritize drivetrain first
- Keep brushes wet
- Dry components with compressed air
- Never point a hose directly into pivots
This is the level of detail that separates casual cleaning from pro-level care.
4. The Full Clean – Mechanic’s Method
Here’s a layered, efficient way to master how to effectively clean your mountain bike. Even on a time crunch.
▶ Step 1: Quick Pre-Ride Check
Time: 2 minutes
- Spin both wheels: Check for rotor rub or side wobble
- Tug the cranks: Feel for play in the bottom bracket
- Look under the downtube and seatstay for hairline cracks
“One rider ignored a tiny dent for weeks — turned out to be a cracked weld. Full frame replacement. A 2-minute check could’ve saved $1,200.”
▶ Step 2: Degreasing
Time: 5–7 minutes
- Apply foam degreaser to chain, cassette, and jockey wheels
- Let it sit but not dry out
- Scrub with chain bath OR toothbrush
- Wipe with a microfiber towel — clean until your rag comes away unmarked
Pro-Tip: Cover rotors with a clean rag before degreasing. One droplet of degreaser on brakes can ruin your next ride.
▶ Step 3: Gentle Rinse
Use a hose on shower mode. Never blast water into bearings or under the headset. Start from the saddle and rinse downward.
5. Soapy Stage – Where Most Riders Fail
Using dish soap? Big mistake. It strips paint and corrodes aluminum.
Instead, use a pH-neutral bike cleaner.
- Lather the sponge before touching the frame
- Clean in sections: top tube → seat tube → down tube
- Use small brushes around derailleur hangers and suspension pivots
- Rinse in between sections if it’s hot out (soap dries fast in sunlight)
6. Wheel & Rotor Precision
Remove wheels if possible.
- Scrub rims with a stiff brush, not just your sponge
- Get between spokes near the hub — often missed
- Clean disc rotors with 99% isopropyl alcohol
- Avoid touching rotors after cleaning — one fingerprint = squeal city
Pro-Tip: After cleaning, spin the wheel. If rotors hiss when braking, clean again.
7. Drying & Lubrication — The Forgotten Art
This step defines how long your clean lasts.
▸ Drying:
- Pat down with microfiber towel
- Compressed air or a hairdryer on cool setting for derailleur, brakes, and crevices
▸ Lubing:
- Apply chain lube link by link
- Wait 10 minutes
- Wipe excess with a clean, dry rag
- Re-check for rotor contamination
Lube Trick: Apply lube while chain is on the cassette’s smallest cog. It allows better visual control.
8. Pro Mechanic Time Management Strategy
When short on time:
- Focus on drivetrain
- Clean chainrings and cassette
- Quick spray on frame, wipe down
- Lube chain, check brakes
- Skip tire scrub if time-bound — get it next time
Time-crunched riders still need performance. Knowing how to effectively clean your mountain bike means knowing what matters most when time is tight.
9. Environmental Considerations
Let’s talk eco.
- Use biodegradable degreasers (like Green Fizz or Muc-Off Bio)
- Avoid storm drains — filter dirty water through a cloth before disposal
- Clean on gravel or grass where water can soak naturally
- Reuse towels and brushes instead of disposable paper
You protect trails with your tires — protect nature with your wash habits too.
10. Personal Experience: The $300 Mistake
I once rode 3 weeks straight without cleaning. Didn’t notice the slow build-up. Then mid-climb, snap — chain broke, twisted derailleur, cassette teeth bent.
Final cost?
- Chain: $60
- Cassette: $140
- Derailleur: $100
All because I didn’t spend 15 minutes cleaning.
11. Riding a Clean Bike: The Feeling is Unreal
Imagine this:
You hop on your freshly cleaned bike. The chain runs whisper-quiet. The pedals feel connected. Brakes are crisp, responsive. There’s a mental clarity when everything flows.
It’s more than aesthetics. It’s control, connection, and confidence. That’s the reward of mastering how to effectively clean your mountain bike.
Conclusion: Turn Cleaning Into a Ritual
A clean mountain bike isn’t a flex. It’s a responsibility. You rely on that machine to carry you over roots, rocks, and ridge lines. Return the favor.
Make cleaning your ritual. Like checking tire pressure or wearing your helmet. Respect the machine, and it’ll reward you ride after ride.
What’s your most underrated cleaning trick? Or the worst mistake you’ve ever made cleaning your bike? Share your story — because every scratch, every shine has a lesson.